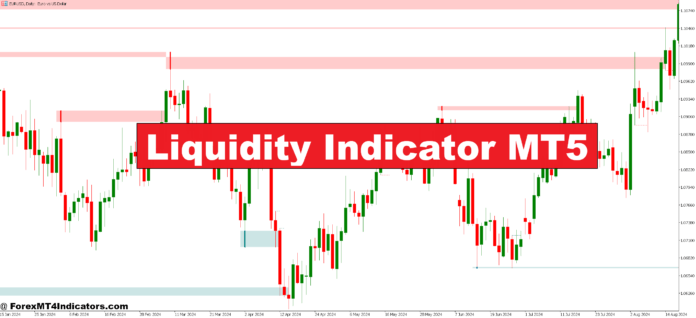
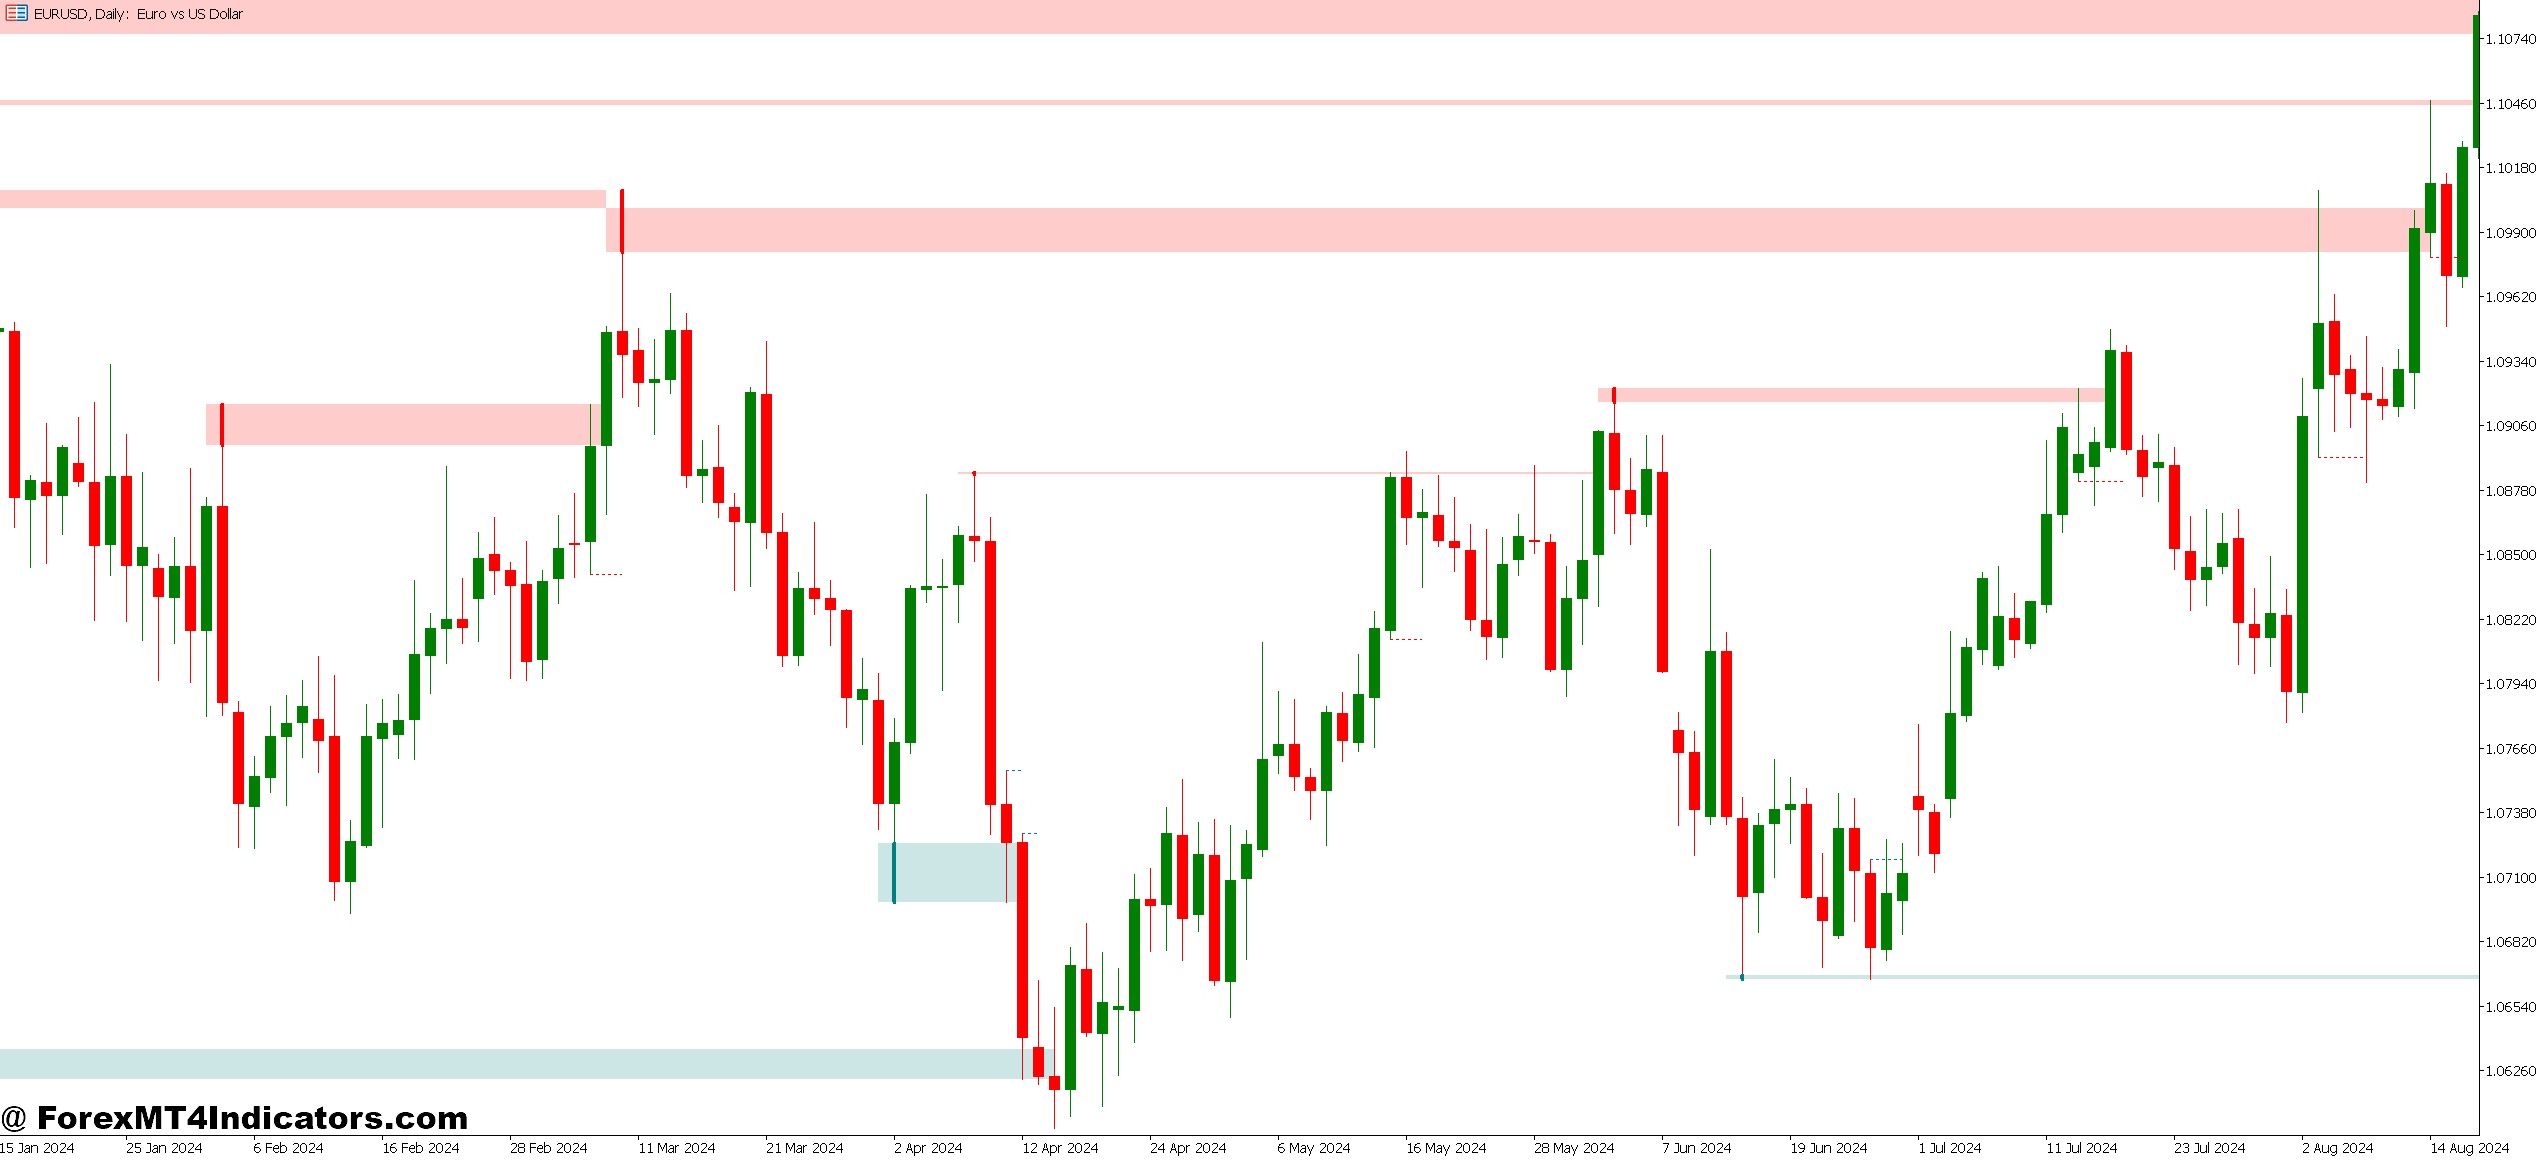
The Liquidity Indicator for MetaTrader 5 identifies zones where large volumes of pending orders cluster. Think of it as a heat map for institutional positioning. When banks place massive stop-loss orders or set limit orders to enter positions, they create liquidity pools. These pools act as magnets—price often gravitates toward them before making significant moves.
The indicator displays these zones directly on charts, typically as horizontal levels or shaded areas. Green zones usually mark buy-side liquidity (areas with clustered stop losses above the current price or buy limit orders). Red zones indicate sell-side liquidity below the price.
Here’s what makes this different from standard support and resistance: these levels aren’t based on where the price bounced before. They’re calculated from order book data, volume analysis, and algorithmic detection of institutional footprints. The indicator processes tick data and market depth information that manual analysis simply can’t handle.
How It Calculates Liquidity Zones
The calculation methodology varies between indicator versions, but most use a combination of volume profiling and order flow analysis. The indicator scans for:
- Volume spikes at specific price levels: When trading volume surges at a particular price without significant movement, it signals absorption—institutions filling large orders.
- Swing high and low clusters: Retail traders predictably place stops just beyond obvious swing points. The indicator identifies these “stop hunts” waiting to happen.
- Historical liquidity sweeps: Areas where price previously spiked through levels quickly, often grabbing liquidity before reversing.
Some versions incorporate Time and Sales data, tracking large individual transactions that suggest institutional activity. Others use a proprietary algorithm that weighs recent price action more heavily, making the levels dynamic rather than static.
The technical side gets complex, but traders don’t need to code algorithms. What matters is recognizing that these calculations catch patterns human eyes miss. On a GBP/JPY 1-hour chart during the London session, the indicator might show a red liquidity zone at 188.50. Price taps it, spikes to 188.35 (grabbing stops), then reverses 60 pips higher. That’s not random—it’s institutional order flow in action.
Trading With Liquidity Zones: Practical Application
The indicator works best when traders stop fighting liquidity and start anticipating its effects. Three core strategies emerge:
- Liquidity grab reversals: Price approaches a liquidity zone marked by the indicator. Instead of trading the breakout, wait for the “sweep and retreat” pattern. When EUR/USD showed a liquidity pool at 1.0920 last month during the New York session, the price spiked to 1.0928, then dropped 45 pips in two hours. Traders who shorted after the liquidity grab caught the move.
- Confirmation for breakout trades: Breakouts succeed more often when there’s no major liquidity zone nearby. If the indicator shows clean space above a resistance breakout, institutions aren’t positioned to defend that level. That’s a green light. But if a thick liquidity zone sits 15 pips above the breakout? That’s a trap waiting to spring.
- Range trading between zones: When two liquidity zones bracket price action on lower timeframes, trade the range. Sell near the upper zone, buy near the lower zone. This works particularly well during Asian session chop when major pairs lack directional momentum.
Settings matter. Most traders run the indicator on 1-hour and 4-hour charts for swing trades, and 15-minute charts for day trading. Sensitivity settings control how many zones display—higher sensitivity shows more levels but creates noise. Start conservatively. A 30-period lookback with medium sensitivity filters out weak zones while highlighting institutional positioning.
Timeframe selection affects signal quality. The 5-minute chart shows every minor liquidity pocket, creating paralysis by analysis. The daily chart smooths out so much data that short-term opportunities disappear. The 1-hour chart hits the sweet spot for most forex pairs.
Advantages and Real Limitations
The indicator’s strength lies in forward-looking analysis. Support and resistance look backward at where the price bounced. Liquidity zones look forward to where orders are stacked. This creates an edge, especially during volatile news releases when liquidity zones can predict where the price will “hunt” before making its true directional move.
It also reduces guesswork about stop placement. If a liquidity zone sits 25 pips below entry, that’s where institutional stops likely cluster. Placing your stop 5-10 pips beyond that zone makes sense—you’re protected if the sweep happens, but you’re not getting stopped out before the move you want.
But here’s the truth: this indicator isn’t foolproof. Liquidity zones don’t guarantee the price will reach them. Sometimes market conditions shift, and orders get pulled. High-impact news can blow through liquidity zones without the expected reaction. And false signals happen—price tests a zone without the anticipated reversal.
The indicator also lags on thinly traded exotic pairs. It needs volume and order flow data to function. On EUR/USD or GBP/USD? Excellent. On USD/TRY or EUR/NOK? The zones lose reliability because institutional activity is sparse and data is thinner.
Some versions of the indicator are resource-heavy, causing MT5 to slow down when running multiple pairs simultaneously. Traders with older computers sometimes experience lag during high-volatility periods when the indicator recalculates frequently.
How It Compares to Standard Order Flow Tools
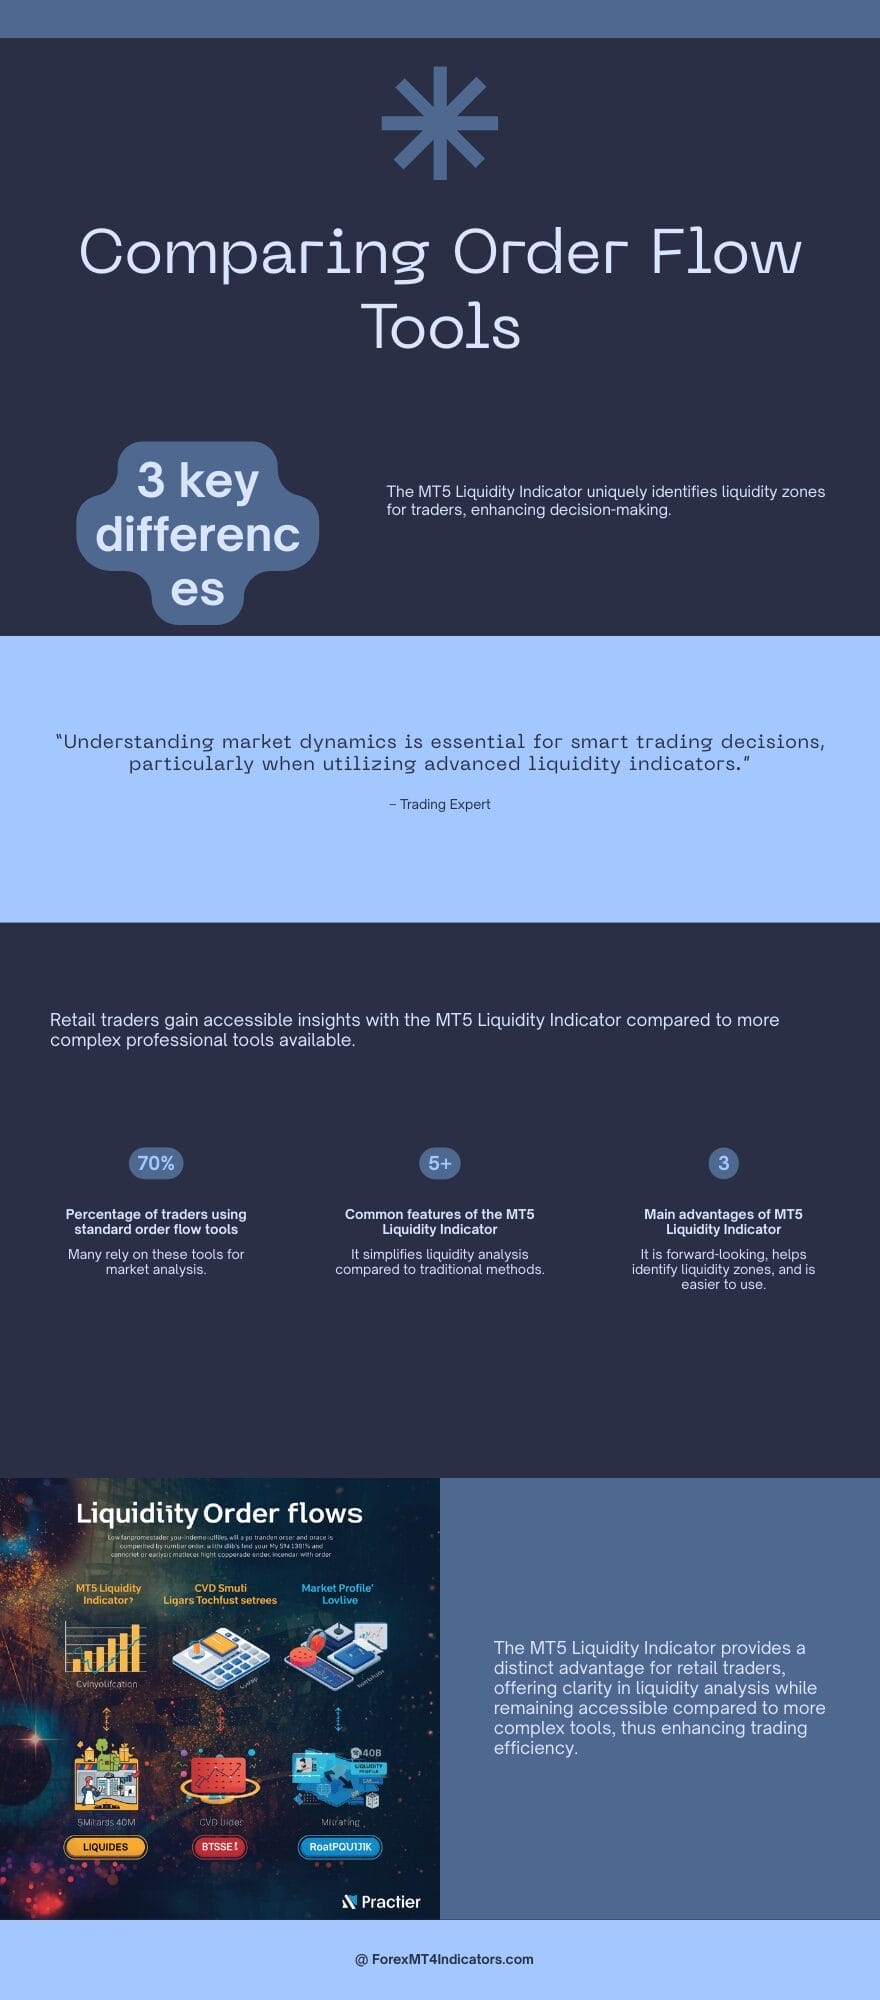
Order flow indicators aren’t new. The Liquidity Indicator competes with tools like Delta Volume, Cumulative Volume Delta (CVD), and Market Profile. So what’s different?
Market Profile shows value areas and volume distribution, but doesn’t specifically identify institutional order clusters. It tells you where most trading happened, not where unfilled orders wait. CVD tracks buying versus selling pressure in real-time but doesn’t project forward to pending orders.
The Liquidity Indicator bridges that gap. It’s forward-looking in a way volume-based tools aren’t. When combined with something like a 20-period EMA for trend direction and RSI for momentum confirmation, traders get a more complete picture. The indicator handles the “where” (liquidity zones), while traditional tools confirm “when” (entry timing).
Compared to footprint charts used by futures traders, the MT5 Liquidity Indicator is simpler and more accessible. Footprint charts require significant screen time to interpret correctly. This indicator distills complex order flow into visual zones that don’t require months of learning curve.
That said, professional order flow traders using platforms like ATAS or Sierra Chart access deeper data. The MT5 version works with retail broker feeds, which means it’s an approximation of true institutional positioning rather than direct exchange data. Still, for forex traders stuck with MT5 and retail brokers, it’s among the better options available.
How to Trade with Liquidity Indicator MT5
Buy Entry
- Price sweeps below the liquidity zone and rejects – Wait for a wick below the red zone on 1-hour EUR/USD, then enter when price closes back above with 15-20 pip stop below the wick low.
- Double bottom forms at liquidity level – When price tests a green zone twice within 4 hours without breaking, buy the third touch with a 25-pip stop on GBP/USD pairs.
- Liquidity zone aligns with daily support – Only take buys when the indicator’s zone matches a daily chart support level; this confirms institutional and technical confluence on 4-hour timeframes.
- Morning spike grabs liquidity during London open – If price drops 20+ pips in the first 30 minutes of the London session to hit a zone, wait 15 minutes, then buy if a reversal candle forms.
- Risk 1% maximum per liquidity setup – Even with perfect zone alignment, never risk more than 1% of account balance; false sweeps happen 30-40% of the time in choppy markets.
- Skip buys when major news releases loom – Avoid entries within 1 hour before NFP, CPI, or central bank announcements; liquidity zones become unreliable during high-impact events.
- Confirm with RSI below 30 – Buy signals are strongest when price hits a liquidity zone, AND RSI drops under 30 on the same timeframe, suggesting oversold bounce potential.
- Exit 50% at 2:1 risk-reward – When trade moves 40 pips in profit (with 20-pip stop), close half position and trail stop to breakeven on remainder.
Sell Entry
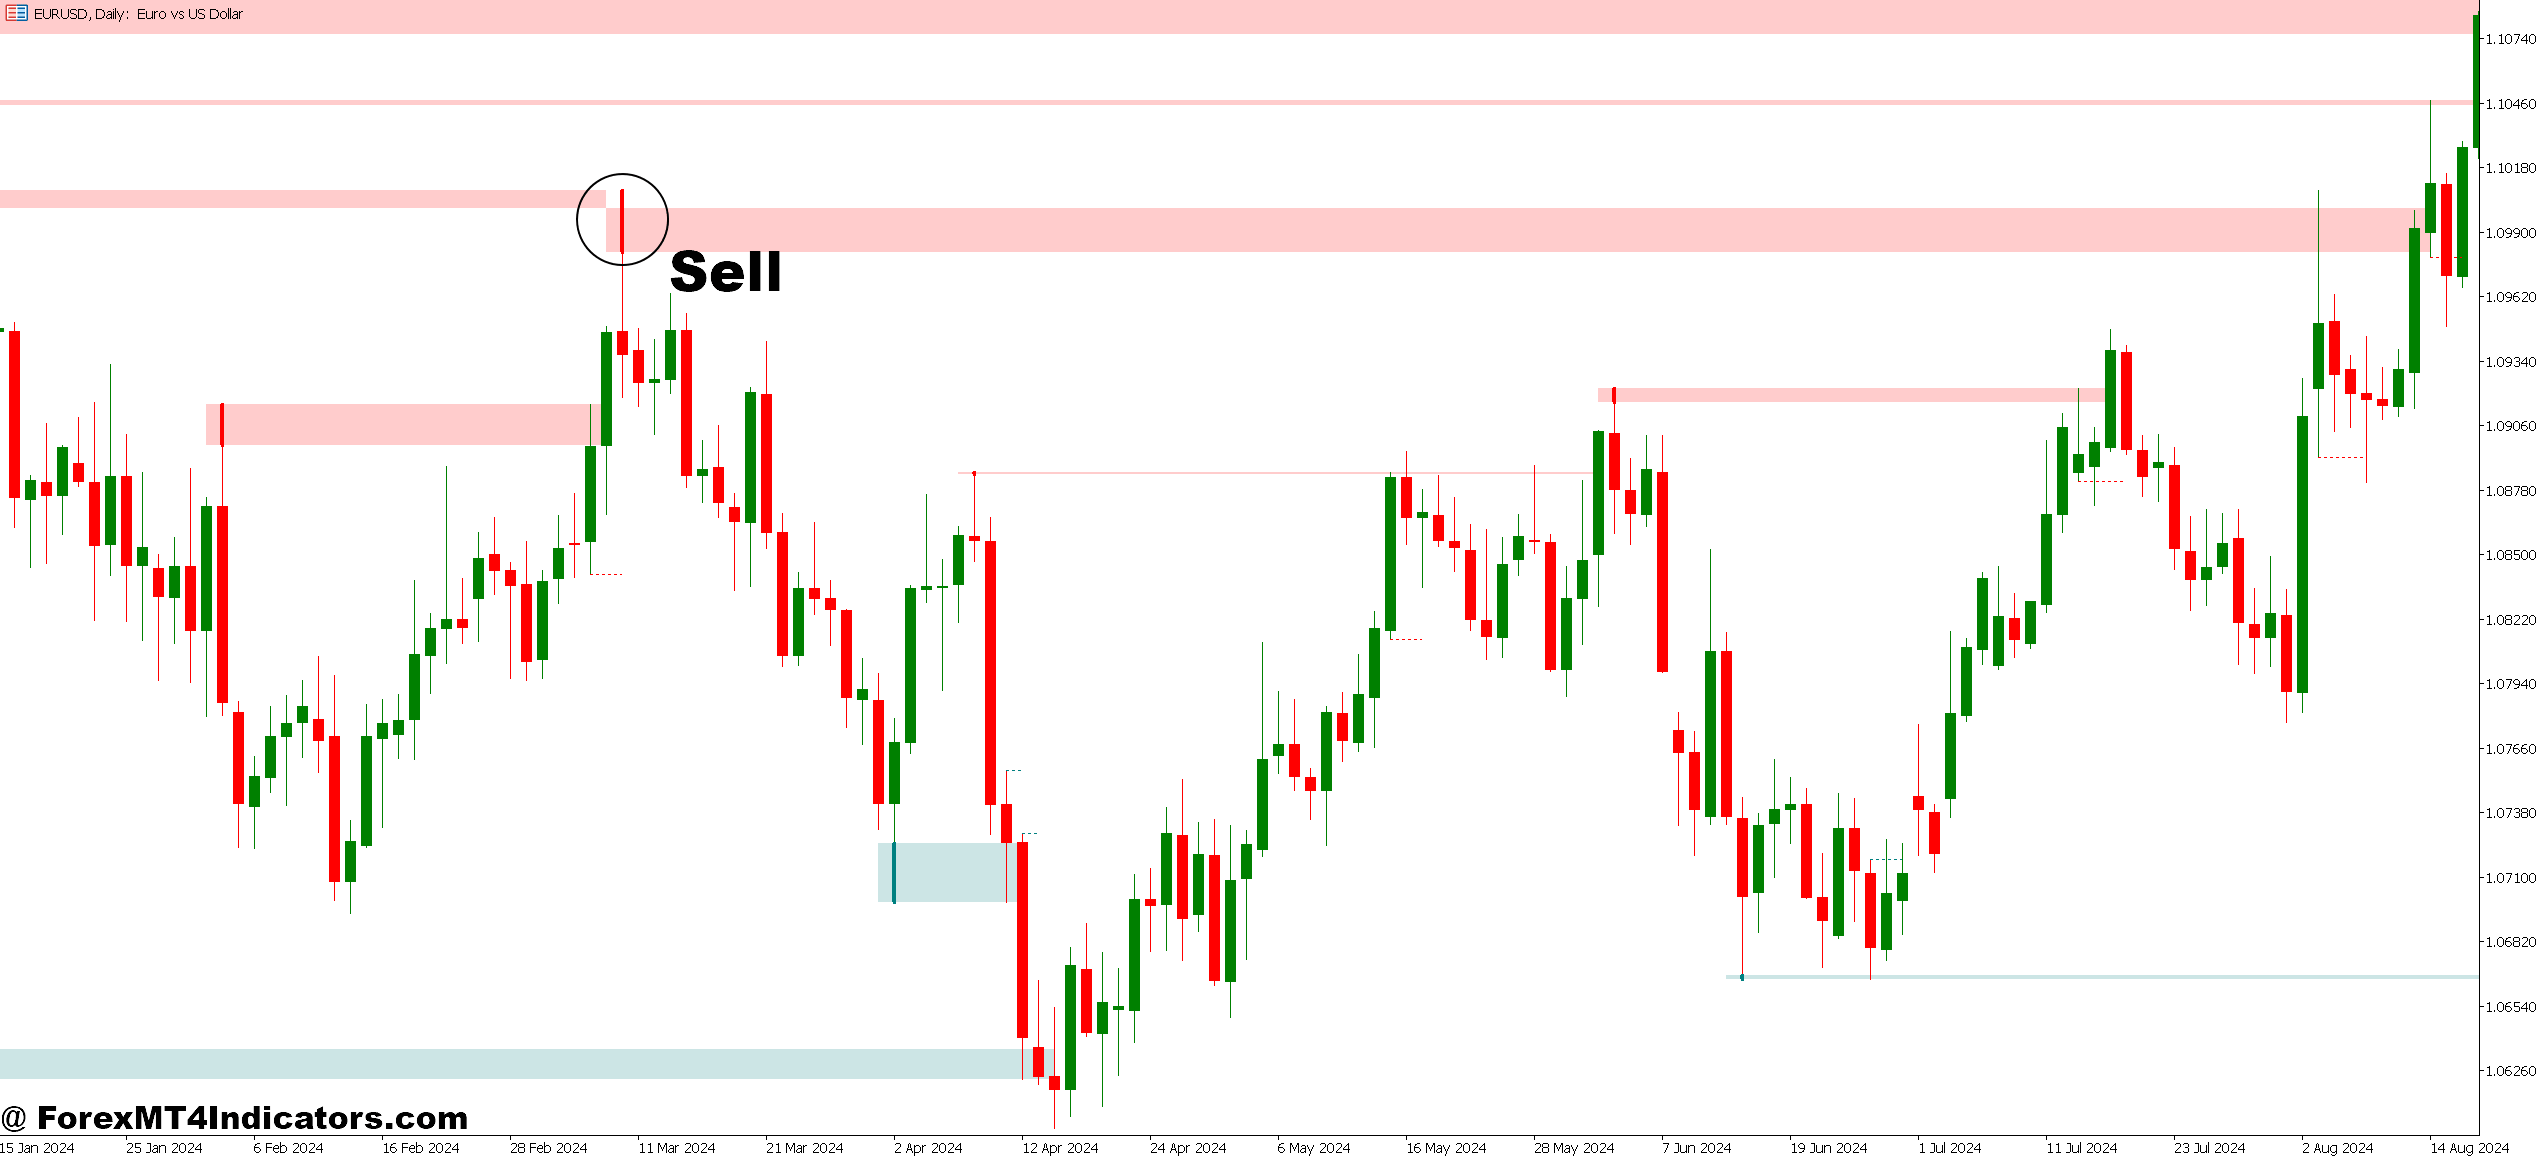
- Price spikes above the liquidity zone, then reverses – Short when EUR/USD wicks 10-15 pips through a green zone onthe 1-hour chart, then closes back below it within two candles.
- Triple top rejection at red zone – If price tests the same liquidity level three times on 4-hour GBP/USD without breaking higher, sell the third rejection with 30-pip stop.
- Evening pump targets New York liquidity – Watch for late-session rallies (3-5 PM EST) that spike into zones; these often reverse sharply as institutions fill orders.
- Daily resistance confirms indicator zone – Only short when liquidity zone overlaps with daily chart resistance; standalone zones on lower timeframes produce 50%+ false signals.
- Never sell in strong uptrends – Skip short setups when price is above 200-period moving average on 4-hour chart, regardless of liquidity zone hits.
- Reduce size during Asian session range – Cut position size by 50% for sells during Tokyo hours (midnight-5 AM EST); low volume creates unpredictable liquidity reactions.
- Wait for bearish engulfing confirmation – Don’t short immediately at zone contact; wait for a full bearish engulfing candle to close before entry on 1-hour timeframes.
- Set alerts, don’t chase – Place MT5 alerts 5 pips before liquidity zones rather than watching screens; chasing entries after zone breach typically results in late, poor-quality fills.
Making It Work in Real Trading
The Liquidity Indicator MT5 offers a window into institutional order flow that most retail setups lack. It won’t replace solid trading fundamentals—risk management, strategy consistency, emotional control—but it adds a layer of market awareness that can shift probabilities. For traders willing to learn its signals and integrate them thoughtfully, it’s a valuable addition to the technical analysis toolkit. The question isn’t whether it’s perfect—no indicator is. The question is whether understanding where big money is positioned gives you an advantage. For many traders, that answer is yes.
Recommended MT4/MT5 Broker
XM Broker
- Free $50 To Start Trading Instantly! (Withdraw-able Profit)
- Deposit Bonus up to $5,000
- Unlimited Loyalty Program
- Award Winning Forex Broker
- Additional Exclusive Bonuses Throughout The Year
- Exclusive 90% VIP Cash Rebates for all Trades!
Already an XM client but missing out on cashback? Open New Real Account and Enter this Partner Code: VIP90
(Free MT4 Indicators Download)

Enter Your Email Address below, download link will be sent to you.


