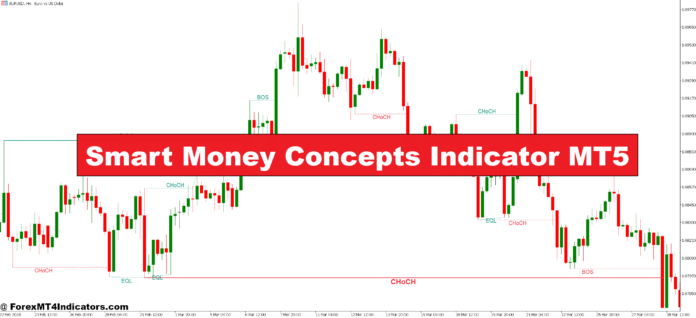
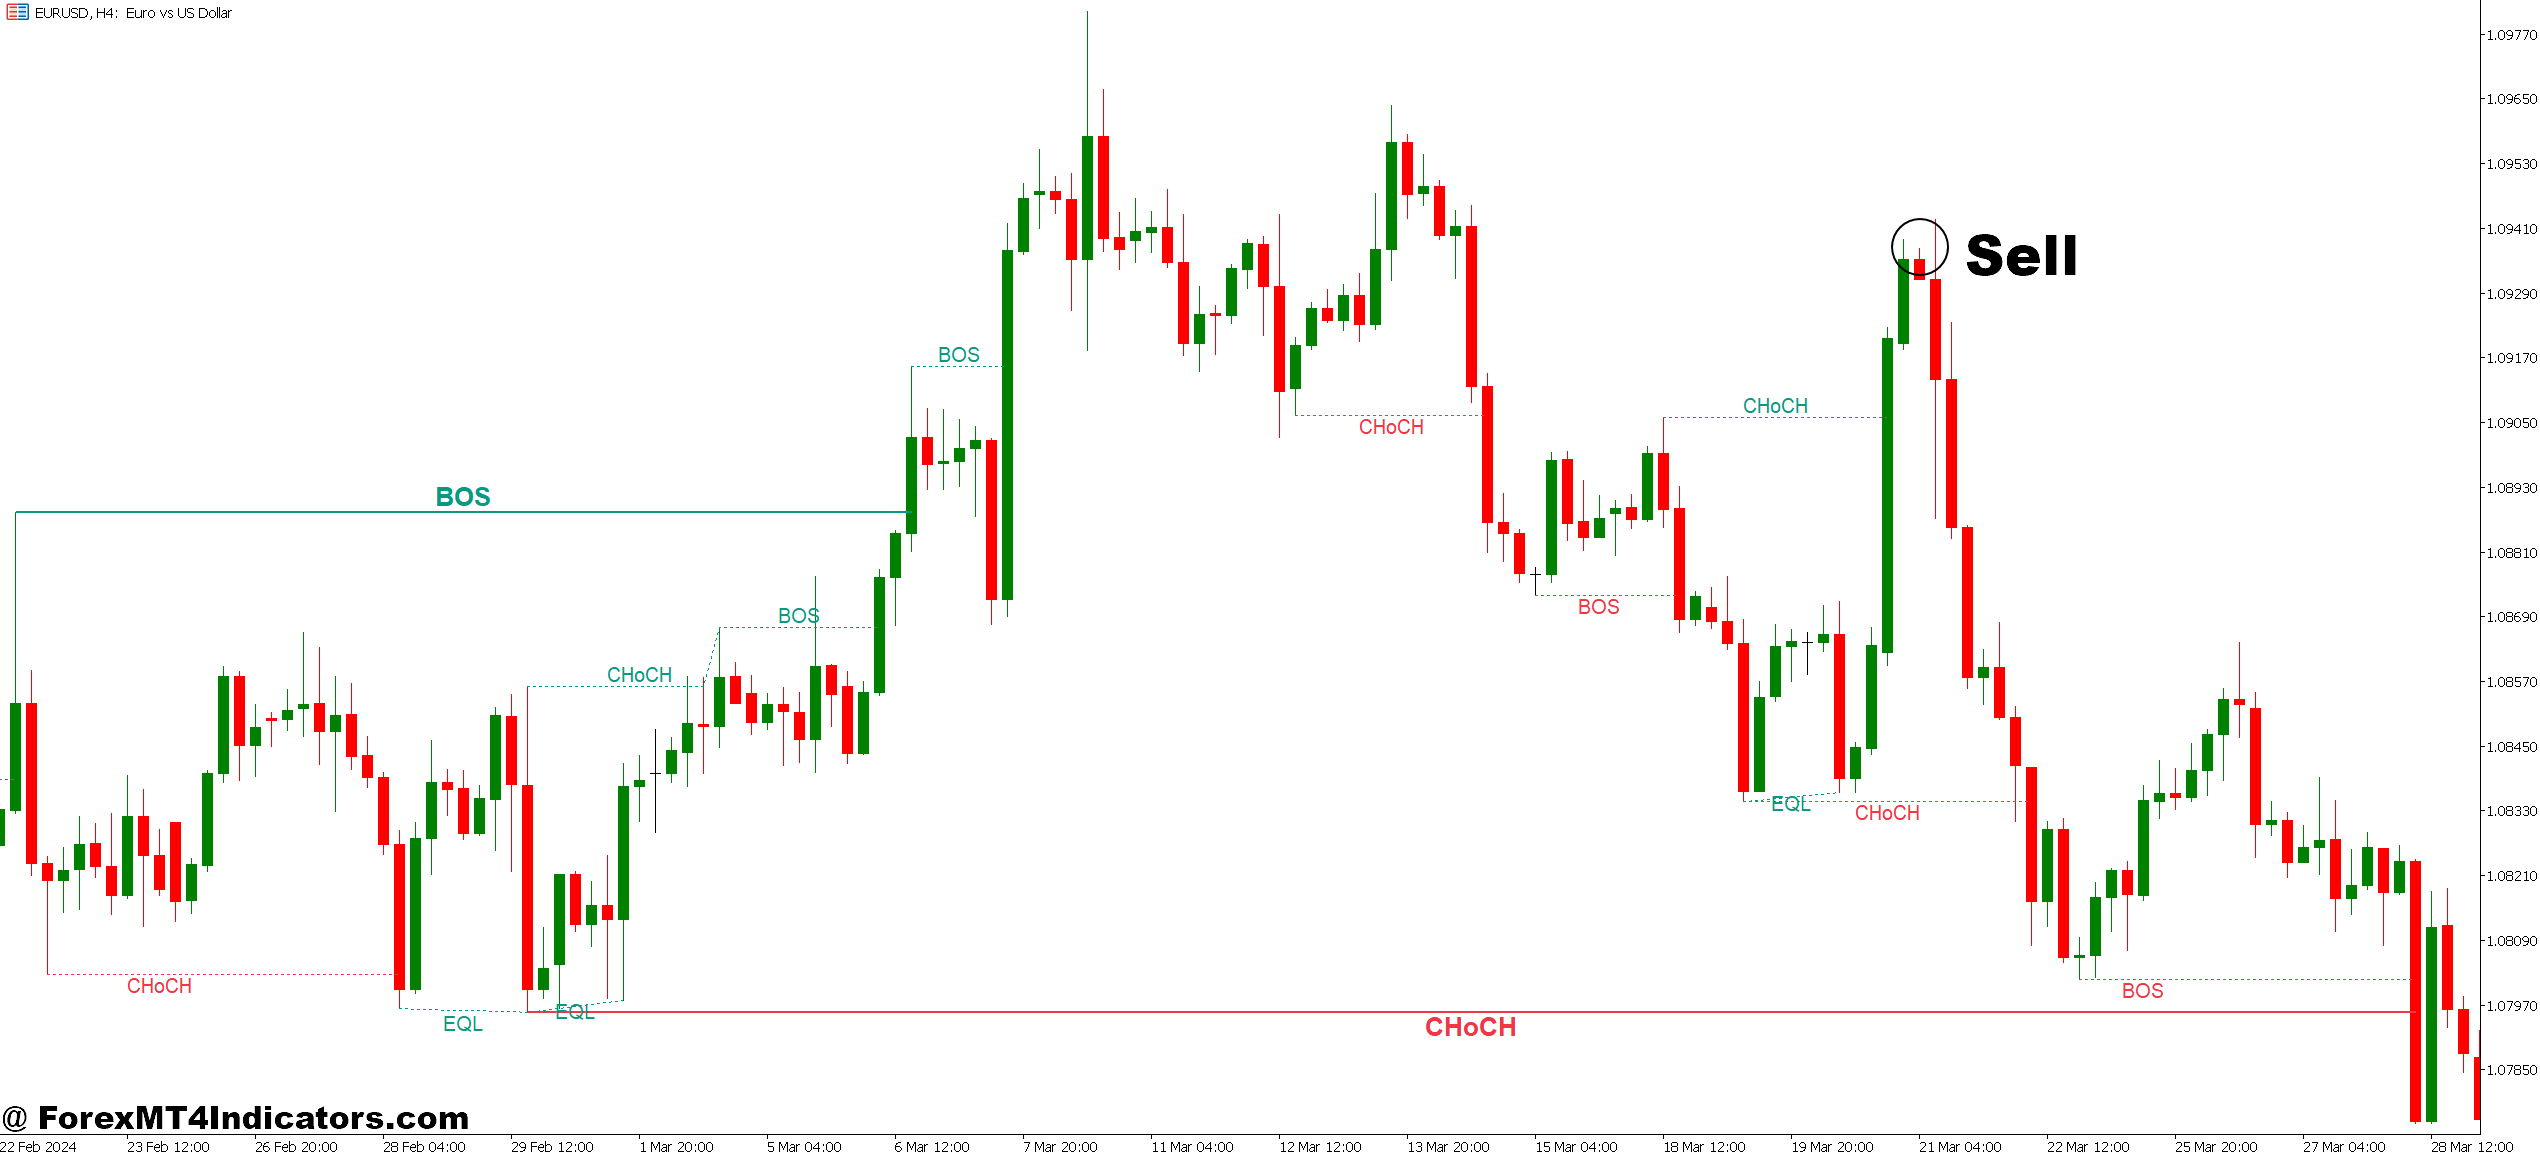
Smart Money Concepts (SMC) refers to price action principles that reveal how institutional traders—banks, hedge funds, and large financial entities—move markets. The MT5 indicator automates the detection of these patterns, which otherwise require hours of manual chart analysis.
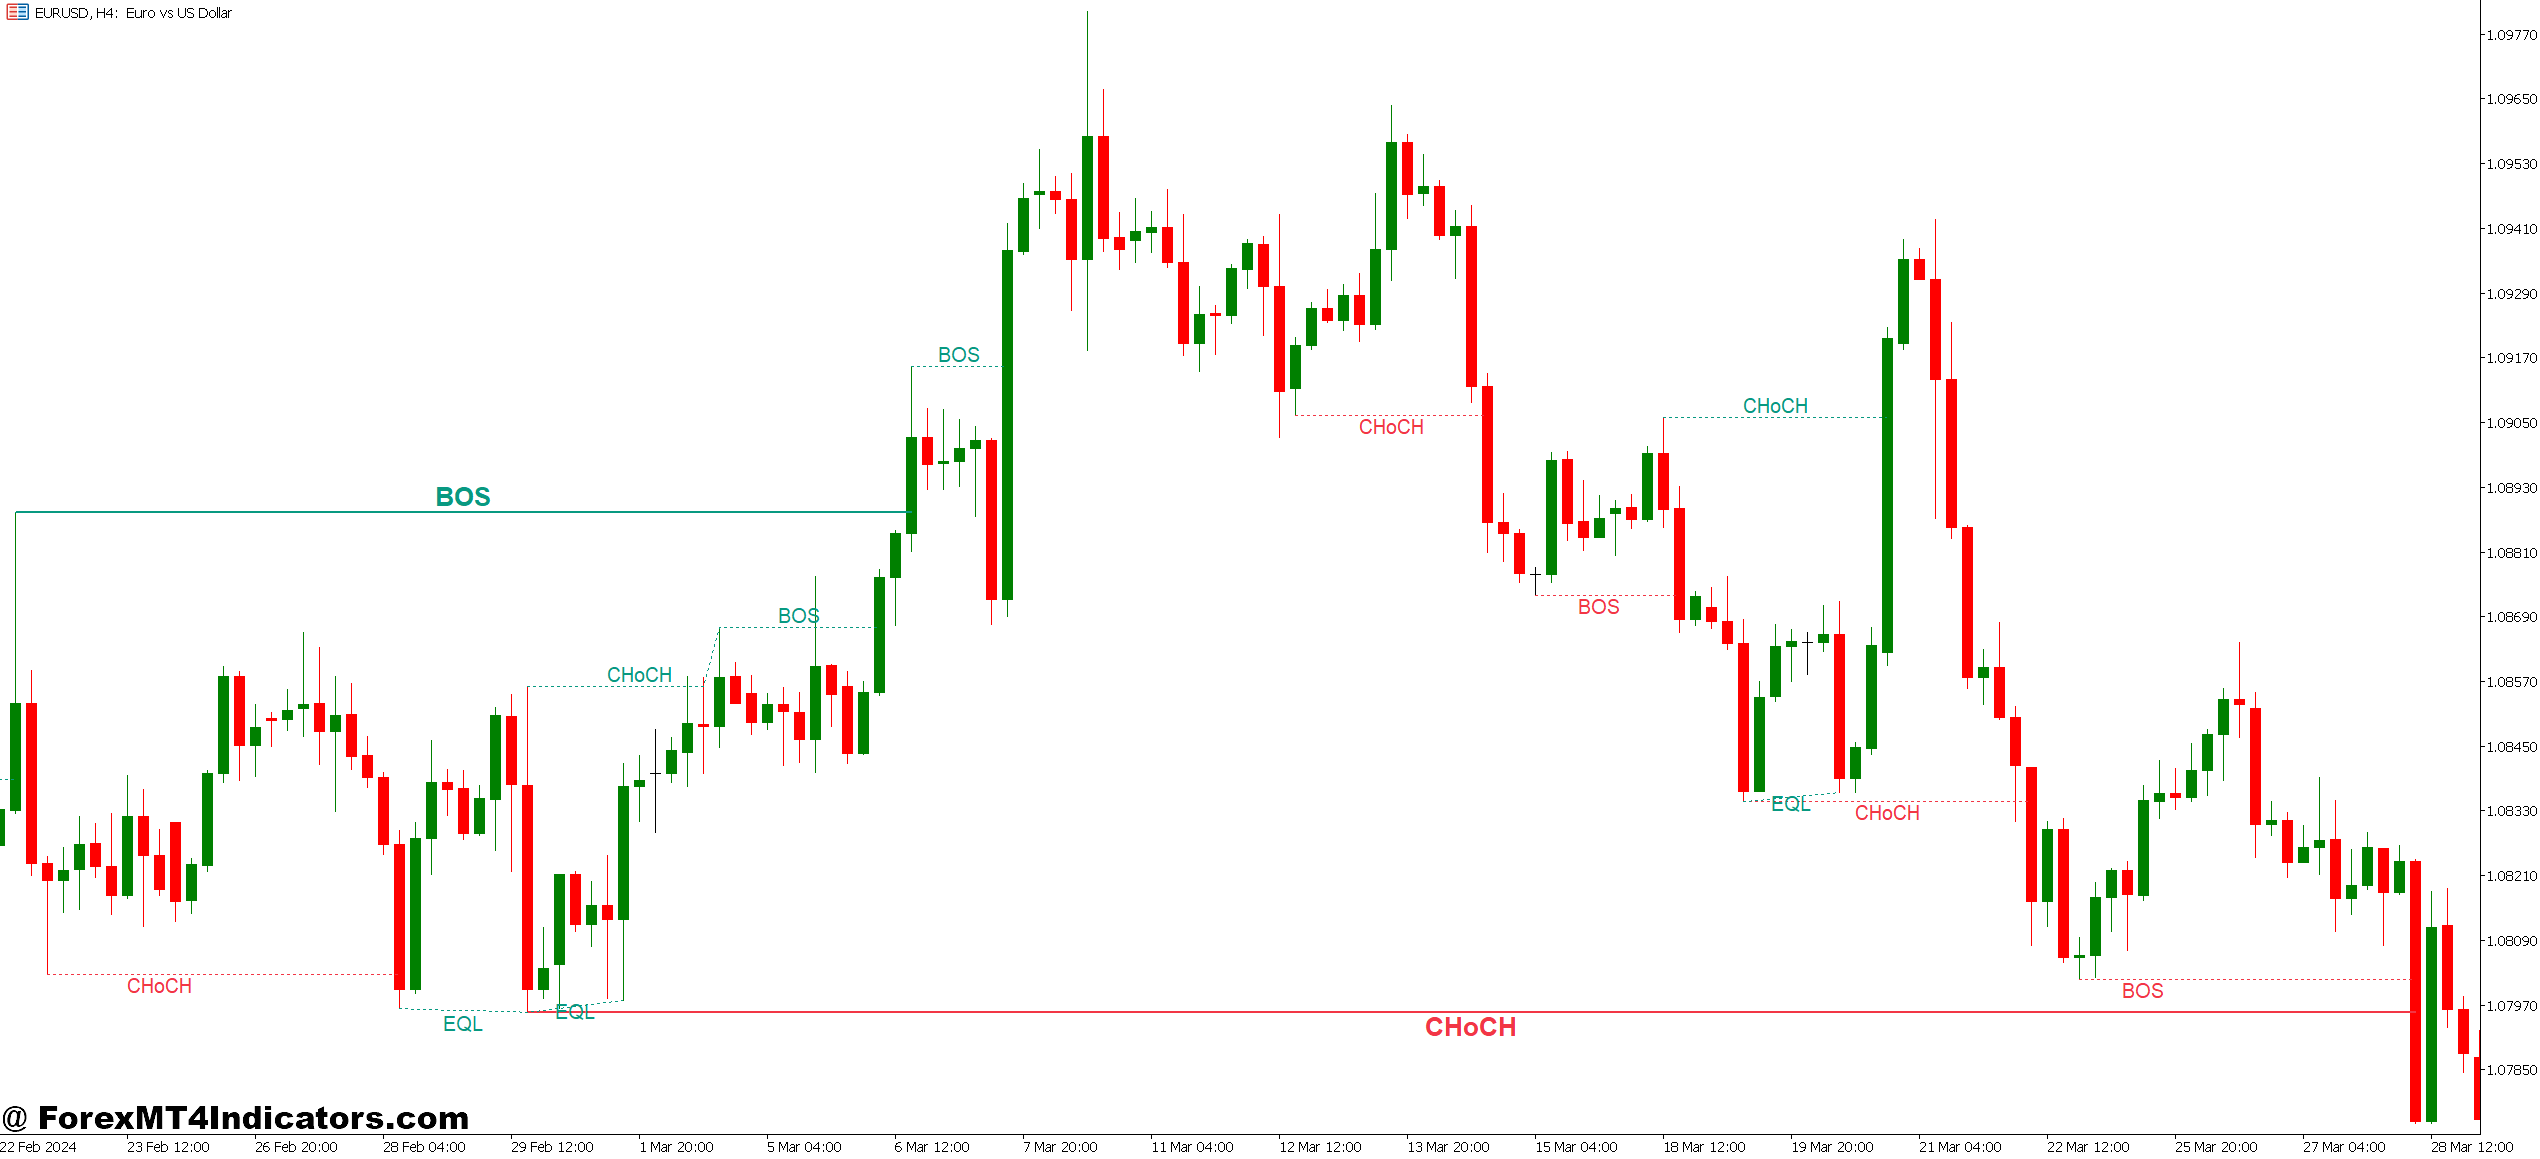
The indicator marks several key structures. Order blocks appear as rectangles highlighting the last bullish or bearish candle before a strong move. These zones represent where institutions placed significant orders. Fair value gaps (FVGs) show imbalances where price moved too quickly, leaving inefficiencies that often get filled later. Break of structure (BOS) points identify when price breaks previous swing points, confirming trend direction.
What separates this from standard support and resistance? Specificity. Rather than drawing arbitrary zones, the indicator pinpoints exact areas where institutional algorithms likely triggered. On EUR/USD’s daily chart, an order block at 1.0850 might represent where the European Central Bank’s trading desk accumulated positions during a quiet Asian session.
The Mechanics Behind the Signals
The indicator scans for specific price patterns that suggest institutional activity. For order blocks, it identifies the last opposite-color candle before a strong impulse move. If price rallies 50 pips without retracement, that final bearish candle before the surge becomes a bullish order block—institutions likely absorbed all selling pressure there.
Fair value gaps emerge when three consecutive candles create a space between the high of candle one and the low of candle three. This happens when large orders hit the market, causing slippage and gaps in the order book. The indicator marks these zones because institutions often let price revisit them before continuing the trend.
Change of character (CHoCH) detection requires the algorithm to track swing highs and lows. When price breaks a previous swing point with momentum, it signals potential trend reversal. The indicator measures the break’s strength by analyzing volume and candle size—weak breaks often fail, strong ones persist.
The calculation isn’t rocket science, but it’s tedious. Traders who manually mark these levels might miss half of them during fast-moving sessions. The indicator processes every candle automatically, maintaining consistency that manual analysis can’t match.
Real-World Trading Scenarios
Here’s how traders apply this. On USD/JPY’s 4-hour chart last month, price created a bearish order block at 149.80 after a sharp selloff. Two days later, during London open, price rallied back to 149.75—right into that zone. Sellers appeared immediately, pushing price down 120 pips over the next 12 hours. That’s textbook order block rejection.
Fair value gaps work differently. When EUR/GBP dropped 80 pips in 30 minutes after a BOE statement, it left a gap between 0.8520 and 0.8535. Smart traders didn’t chase the move down. They waited. Three sessions later, price retraced to 0.8528—the middle of that gap—before continuing lower. Patient traders who set limit orders in the FVG caught the continuation.
But here’s the thing—not every signal works. During the 2023 March banking crisis, USD/CHF created a bullish order block at 0.9180. Price returned to test it three times, and all three times it failed. Why? Fundamental fear overwhelmed technical structures. The Swiss franc’s safe-haven demand trumped technical levels.
That’s why experienced traders combine SMC with context. A bullish order block means little if the Federal Reserve just announced emergency rate cuts. The indicator shows where institutions traded before, not what they’ll do during unprecedented events.
Settings and Customization
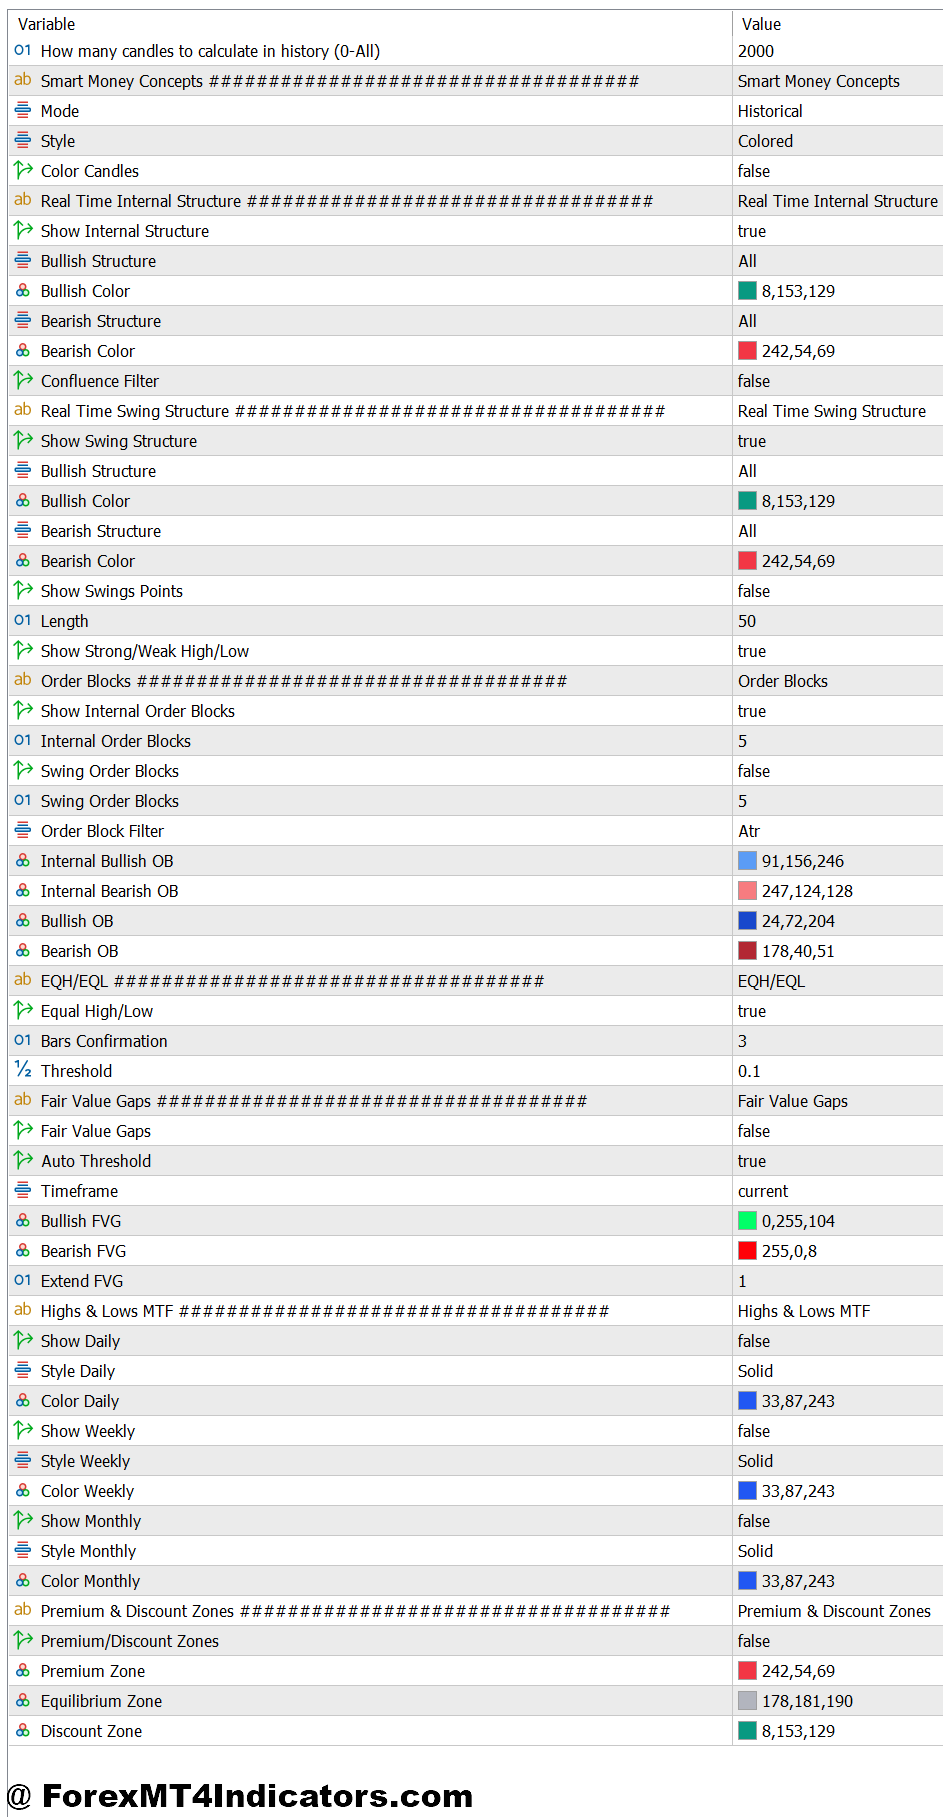
The indicator’s default parameters work for swing trading on H4 and daily timeframes. The lookback period—usually set to 50 candles—determines how far back the algorithm scans for swing points. Shorter lookbacks (20-30) suit scalpers on 15-minute charts but generate more false signals. Longer lookbacks (100+) reduce noise but might miss recent structure shifts.
Order block sensitivity controls how many zones appear on your chart. High sensitivity shows every minor block, cluttering the screen. Low sensitivity displays only the strongest zones where institutional activity was most obvious. Most traders set this to medium, then adjust based on their pair’s volatility.
Color coding helps manage information overload. Bullish zones in blue, bearish in red, mitigated blocks in gray—this visual hierarchy lets traders scan charts quickly. Some traders make older blocks transparent, focusing only on recent structures.
For GBP/JPY’s wild 200-pip daily ranges, wider order blocks (15-20 pips) work better than the default 10 pips. Tight spreads on EUR/USD allow narrower zones. The indicator doesn’t automatically adjust for volatility, so traders must fine-tune settings for each pair.
Strengths and Weaknesses
The indicator’s biggest advantage is pattern recognition speed. What takes 20 minutes to mark manually appears instantly. During NFP releases or central bank announcements, this speed matters—opportunities vanish in seconds.
It also removes emotional bias. Traders often draw support and resistance where they want it, not where it actually exists. The algorithm doesn’t care about your position or bias. It marks structures based on pure price action.
The limitations? It’s reactive, not predictive. The indicator shows where institutions traded, not where they’ll trade next. That bullish order block might never get tested if fundamentals shift. And during low-liquidity Asian sessions, order blocks from thin trading conditions often fail when London volume arrives.
False signals increase during ranging markets. When USD/CAD chops in a 40-pip range for weeks, the indicator generates multiple conflicting zones. In trending markets, it shines. In sideways grind, it struggles like every other technical tool.
Comparing it to standard pivot points or Fibonacci retracements shows clear differences. Pivots use mathematical calculations based on previous high/low/close. Fibonacci imposes predetermined ratios on moves. Smart Money Concepts reflects actual traded levels where volume absorbed price. That’s more relevant than theoretical math—but only when markets respect technical levels at all.
How to Trade with Smart Money Concepts Indicator MT5
Buy Entry
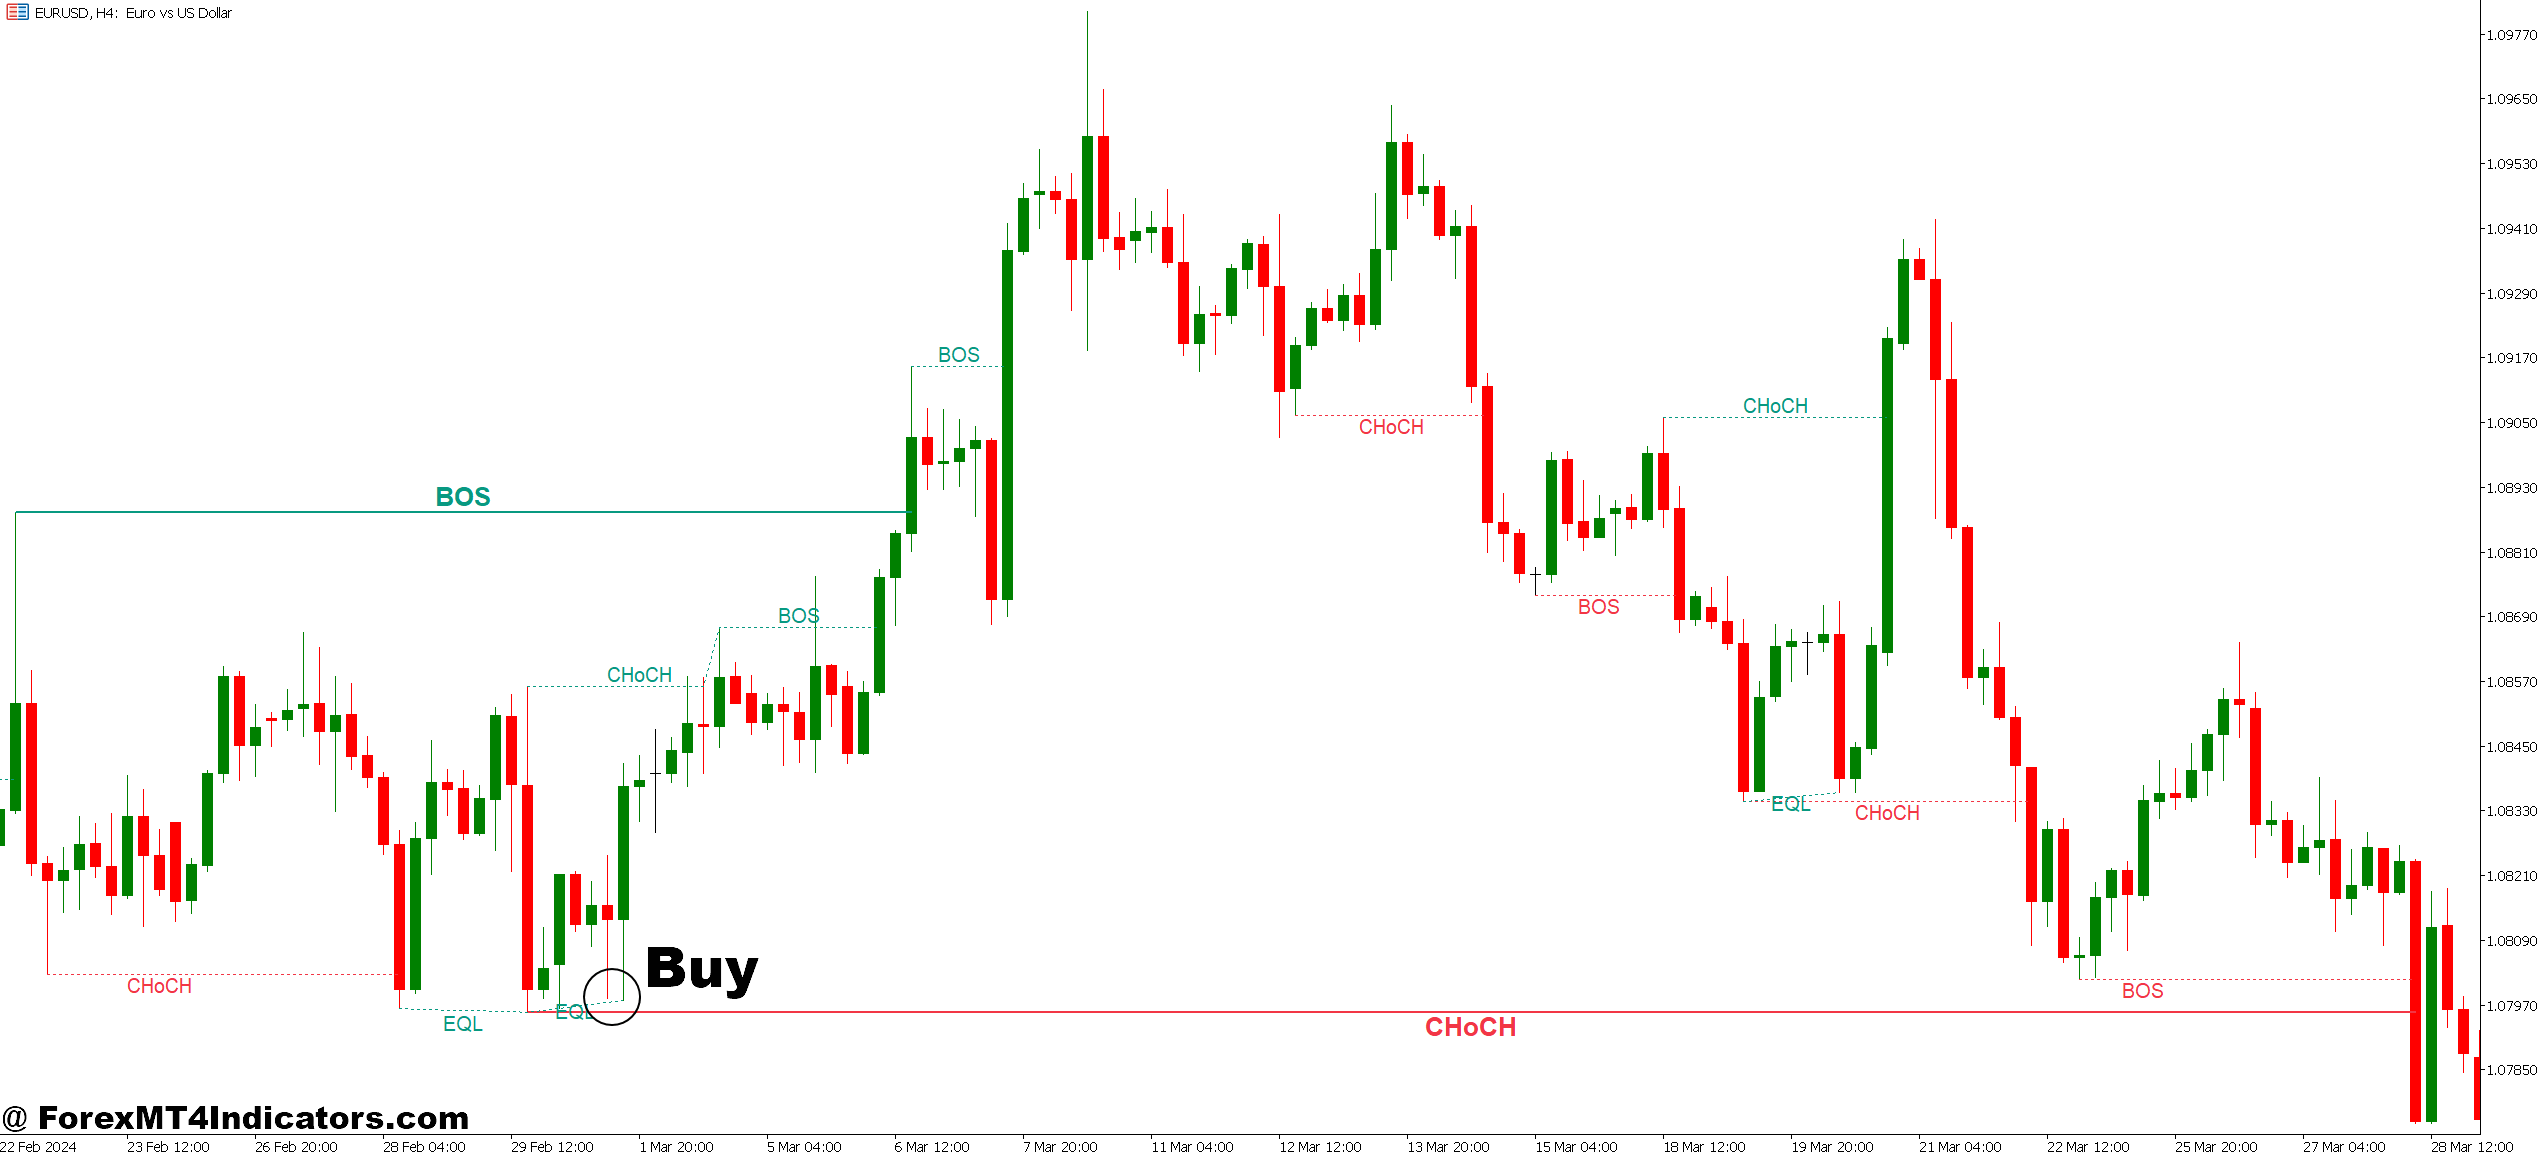
- Order Block Retest – Wait for price to drop back into a bullish order block (marked in blue) on EUR/USD 4-hour chart, then enter long when a bullish engulfing candle forms within the zone, targeting 40-60 pips.
- Fair Value Gap Fill – Enter buy when price fills 50-75% of a bullish FVG on GBP/USD 1-hour chart, placing stop loss 5 pips below the gap’s low and aiming for 2:1 risk-reward minimum.
- Break of Structure Confirmation – Take long positions only after price breaks previous swing high by at least 15 pips on the daily chart, then wait for a pullback to enter rather than chasing the breakout immediately.
- Liquidity Sweep Setup – Buy when price wicks below a key low (stop hunt), then closes back above it within 1-2 candles, indicating institutions grabbed liquidity before pushing higher—works best during London session.
- Risk 1% Maximum – Never risk more than 1% of account balance per SMC signal, even if the setup looks perfect; EUR/USD order blocks fail 30-40% of the time during high-impact news events.
- Avoid Range Conditions – Skip buy signals when price has chopped in a 50-pip range for 20+ hours on USD/JPY; SMC indicators generate false order blocks in sideways markets that don’t hold.
- Volume Confirmation Required – Only enter when the bullish order block formed on strong volume (check volume indicator); thin-volume blocks on AUD/USD Asian session often fail when London opens.
- Multiple Timeframe Alignment – Verify the buy signal on 1-hour chart aligns with bullish structure on 4-hour and daily charts; counter-trend trades against higher timeframe order blocks typically get stopped out.
Sell Entry
- Bearish Order Block Test – Enter short when EUR/USD rallies into a red-marked bearish order block on the 4-hour chart, waiting for a bearish engulfing or strong rejection wick before selling.
- Fair Value Gap Resistance – Sell when price retraces 60-80% into a bearish FVG on GBP/USD 15-minute chart during volatile news releases, setting stop loss 10 pips above gap’s high.
- Change of Character Break – Go short after price breaks below previous swing low with momentum, but wait 2-3 candles for confirmation on daily chart—immediate entries often catch false breaks.
- Premium Zone Rejection – Sell when price reaches the upper 25% of a broader range after tapping a bearish order block, indicating institutions distributed at premium prices before markdown.
- Stop Loss 2x ATR – Place stops at twice the Average True Range above bearish order blocks on volatile pairs like GBP/JPY; tight 20-pip stops get clipped during normal price fluctuation.
- Skip During Strong Trends – Don’t take sell signals against obvious uptrends on USD/CHF weekly chart; counter-trend SMC trades have 60%+ failure rates when fighting major institutional direction.
- News Event Filter – Avoid short entries 30 minutes before and after NFP, FOMC, or central bank decisions; even valid bearish order blocks get blown through during high-impact fundamental releases.
- Mitigation Check – Never sell at order blocks that already got tested twice and held; mitigated zones (turned gray by indicator) lose their power after institutions already executed their orders there.
Using This Indicator Responsibly
Smart Money Concepts Indicator MT5 provides a framework for understanding institutional behavior. Traders who blindly enter at every order block will face disappointment. The tool works best when combined with trend analysis, fundamental awareness, and proper risk management.
Risk per trade should never exceed 1-2% of account equity, regardless of how perfect a setup looks. No indicator, including this one, predicts the future with certainty. Markets can remain irrational longer than accounts can remain solvent—a harsh lesson learned by traders who over-leveraged on “sure thing” setups.
The real value comes from consistent application over hundreds of trades. Some will fail. That’s trading. But when used properly, the indicator helps tilt probability slightly in your favor by identifying where the big money actually operates. In a game where 70% of retail traders lose money, a slight edge makes all the difference.
Recommended MT4/MT5 Broker
XM Broker
- Free $50 To Start Trading Instantly! (Withdraw-able Profit)
- Deposit Bonus up to $5,000
- Unlimited Loyalty Program
- Award Winning Forex Broker
- Additional Exclusive Bonuses Throughout The Year
- Exclusive 90% VIP Cash Rebates for all Trades!
Already an XM client but missing out on cashback? Open New Real Account and Enter this Partner Code: VIP90
(Free MT4 Indicators Download)

Enter Your Email Address below, download link will be sent to you.


